Soldering spinners is an essential skill for DIY electronics enthusiasts and hobbyists alike. Whether you're creating a unique fidget spinner or assembling a custom gadget, understanding how to solder spinners can enhance your projects significantly. This article will delve into the fundamental techniques, tools, and tips necessary to become proficient in soldering spinners, ensuring your creations are both functional and aesthetically pleasing.
As you embark on your journey to learn how to solder spinners, it’s crucial to grasp the basics of soldering itself. Soldering involves the joining of two or more electronic components through the application of heat and solder, a fusible metal alloy. When done correctly, soldering provides a strong and reliable connection that is vital for the longevity and performance of your projects. In this guide, we will cover everything from the tools you need to the step-by-step process of soldering spinners effectively.
Throughout this article, you will discover answers to common questions, practical tips, and valuable insights into soldering spinners. Whether you are a beginner or have some experience, this guide aims to equip you with the knowledge to create impressive and durable spinner projects. Let's get started!
What Tools Do I Need to Solder Spinners?
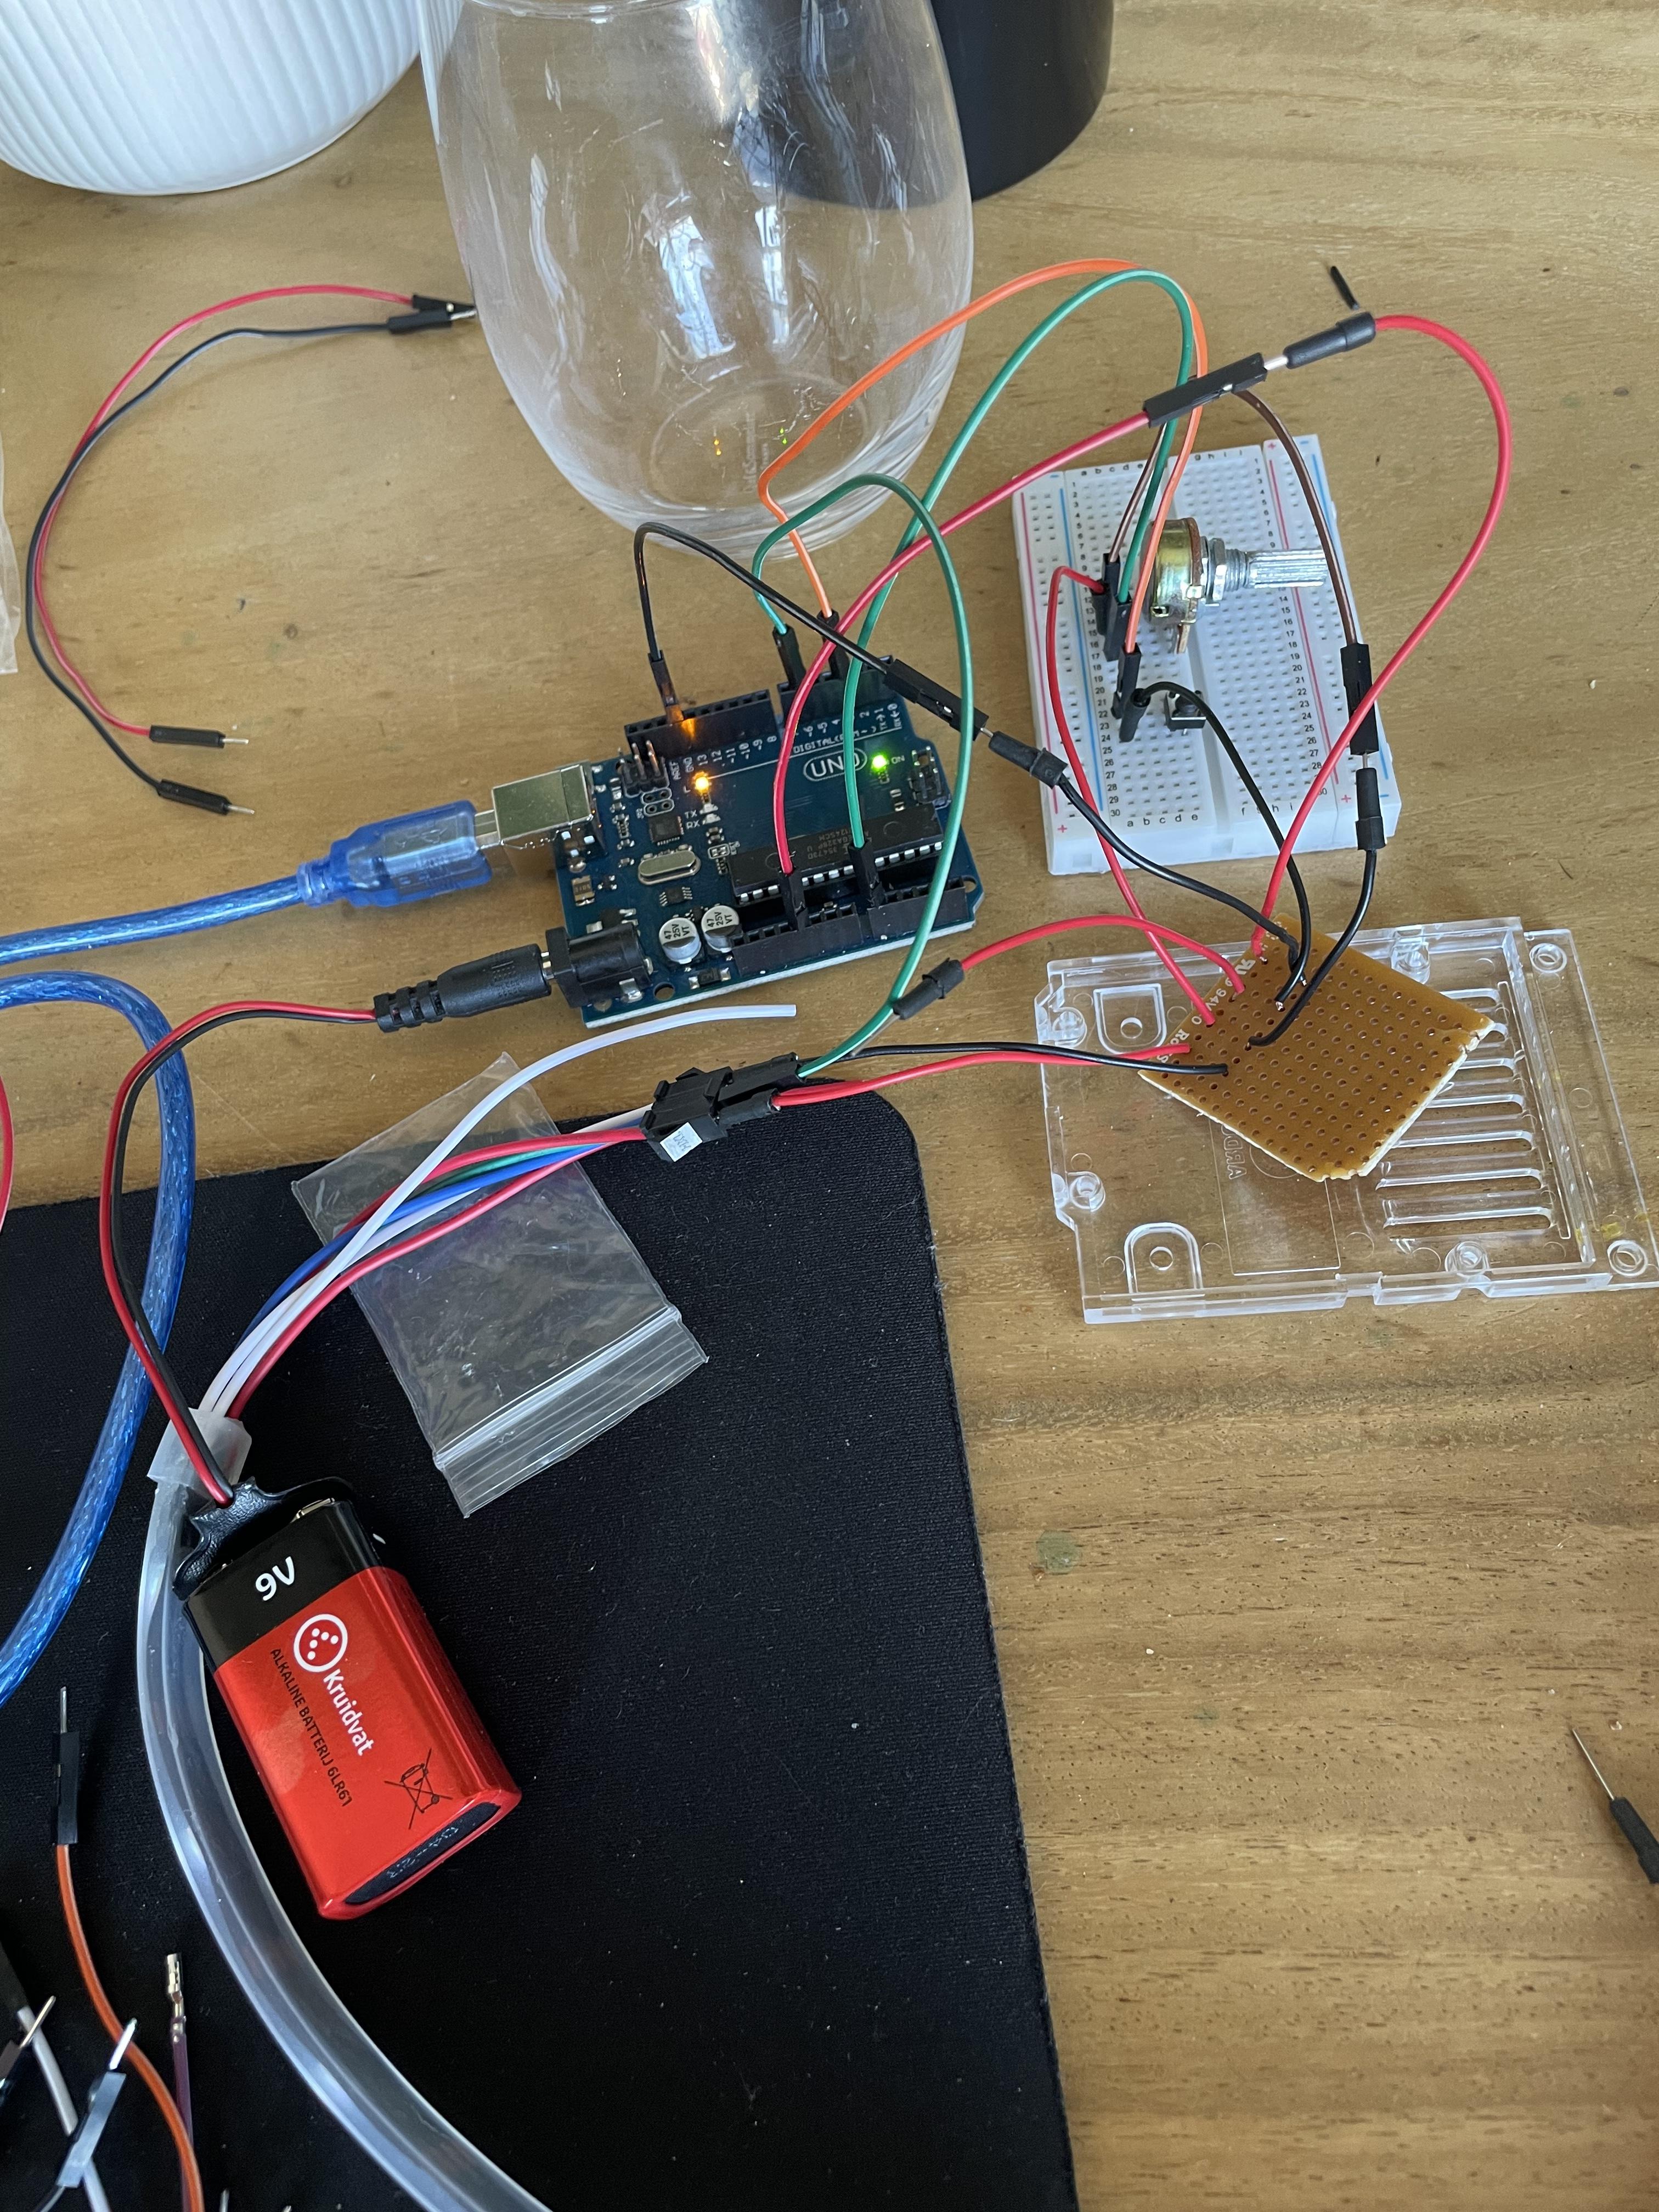
Before diving into the actual soldering process, it is essential to gather the right tools. Here is a list of basic tools you will need:
- Soldering iron
- Solder (preferably lead-free)
- Soldering iron stand
- Wire cutters
- Wire strippers
- Heat shrink tubing
- Multimeter (for testing)
- Safety glasses
- Workbench or a safe working surface
How Do I Prepare My Workspace for Soldering Spinners?
Creating a safe and organized workspace is crucial for successful soldering. Here are some tips to prepare your workspace:
What Is the Basic Process of Soldering Spinners?
Understanding the basic process of soldering will help you execute your projects with confidence. Here is a step-by-step guide on how to solder spinners:
Step 1: Prepare the Components
Before you begin soldering, make sure to prepare all components by cleaning them. Remove any oxidation or dirt using isopropyl alcohol.
Step 2: Heat the Soldering Iron
Plug in your soldering iron and allow it to heat up to the appropriate temperature, generally around 350°C (662°F).
Step 3: Apply Solder
Touch the soldering iron tip to the metal joint of the spinner component and then feed solder into the joint until it flows smoothly.
Step 4: Let it Cool
Remove the solder and the soldering iron, allowing the joint to cool naturally. Avoid moving the joint during this time to prevent a weak connection.
How Can I Troubleshoot Common Soldering Issues?
Even experienced solderers encounter issues. Here are some common problems and solutions:
- Cold Joints: If the solder does not flow properly, reheat the joint and add more solder.
- Short Circuits: Ensure that solder does not bridge between different components.
- Excessive Solder: If too much solder is applied, use a solder wick to absorb the excess.
What Safety Precautions Should I Take When Soldering Spinners?
Safety is paramount while soldering. Here are essential safety tips:
How Can I Improve My Soldering Skills Over Time?
Improving your soldering skills takes practice and patience. Here are some tips to enhance your technique:
- Practice on scrap materials to gain confidence.
- Watch tutorials and learn from experienced solderers.
- Experiment with different solder types and techniques.
- Join online forums and communities to share experiences and seek advice.
Conclusion: Mastering the Art of Soldering Spinners
Learning how to solder spinners is an invaluable skill for anyone interested in electronics or DIY projects. By gathering the right tools, preparing your workspace, and following proper techniques, you can create durable and impressive spinner projects. Remember to practice regularly and stay informed about best practices to continuously improve your soldering skills. With dedication and creativity, you'll be well on your way to becoming a proficient spinner solderer!
ncG1vNJzZmirn521b6%2FOpmasp5idu6bD0qCcq7FoZLWww4ytpmarn6Gxpr6MrKeipp6av7R6x62kpQ%3D%3D